How to Dial In Espresso One Variable at a Time
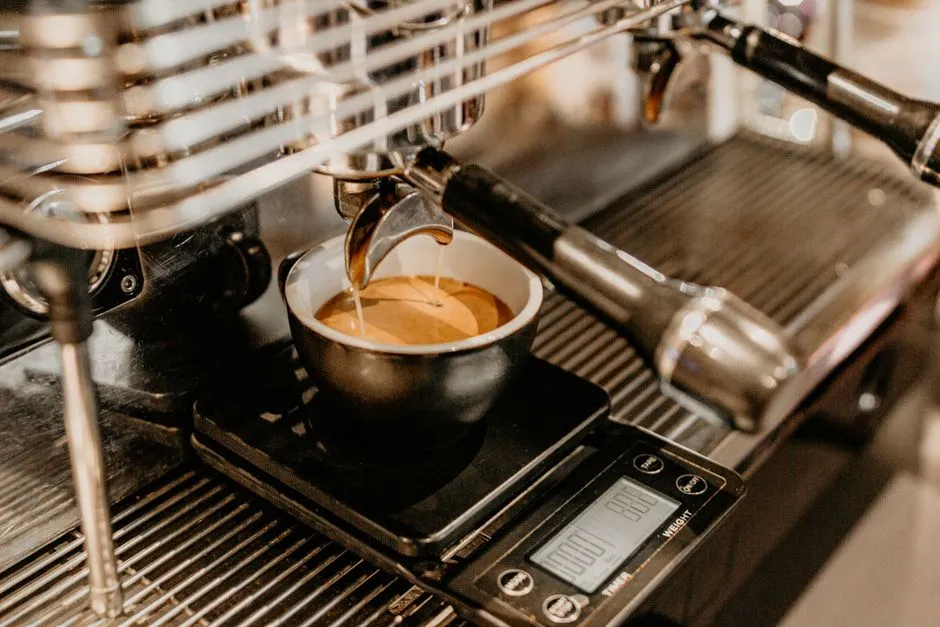
- Hold dose and yield steady, then move the grind
- Define the recipe for the actual basket
- Warm and clean the equipment consistently
- Prepare the puck the same way
- Record yield and time
- Use flow as a clue, then let taste decide
- Avoid changing dose, yield, and grind together
- Diagnose uneven flow separately
- Respect pressure and maintenance boundaries
- Save the final recipe and its limits
Hold dose and yield steady, then move the grind
To dial in espresso, begin with the machine, basket, and coffee maker’s recommended starting recipe. Weigh the dry dose and beverage yield, distribute and tamp consistently, and record the shot time and taste. If the shot runs faster or slower than the intended range, change the grind in one small step while holding the other inputs steady. Adjust from evidence, not because the grinder dial looked lonely.
Espresso machines involve hot water, steam, pressure, electricity, and moving parts. Follow current manufacturer instructions, keep hands clear of hot outlets, and stop using damaged equipment.
Define the recipe for the actual basket
There is no universal espresso dose or brew ratio. Basket capacity, diameter, coffee density, roast, grinder, machine design, and intended drink all matter. Start with the current basket and machine documentation plus the coffee roaster’s guidance when available.
Write three target fields:
- dry coffee dose in grams;
- beverage yield in grams;
- a broad time range used as a diagnostic, not a taste guarantee.
Do not force a basket to hold a fashionable dose if the manufacturer specifies something else. Too much or too little coffee can affect headspace, flow, and contact with the shower screen.
Browse espresso basics for more measurement-first workflow.
Warm and clean the equipment consistently
Allow the machine and portafilter to heat as directed. Use the approved flush or rinse procedure, clean and dry the basket, and keep the group seal free of loose grounds. Old coffee oils and retained grounds can add harsh flavor and undermine the comparison.
Purge the grinder only as needed under its instructions after a setting change. Wasting large amounts of coffee does not make the dial-in more scientific.
Prepare the puck the same way
Weigh the intended dose. Break up obvious clumps and distribute grounds evenly without damaging the basket. Tamp level with controlled pressure; consistency matters more than a theatrical maximum force.
Inspect the rim, lock the portafilter in according to the machine instructions, place a suitable cup and scale, then start brewing promptly. Do not tighten beyond the intended position or touch hot metal.
Record yield and time
Stop the shot at the planned beverage mass when the machine allows manual control. Record:
| Field | Example label |
|---|---|
| Coffee and roast date | exact bag information |
| Grinder setting | machine-specific mark |
| Dry dose | measured grams |
| Beverage yield | measured grams |
| Time | from a consistently defined start point |
| Taste | acidity, sweetness, bitterness, texture, finish |
The table intentionally provides no universal numbers. A valid comparison needs the same timing definition and scale method across shots.
Use flow as a clue, then let taste decide
A very fast shot may indicate insufficient resistance from a coarse grind, low dose, uneven puck, or another preparation issue. A very slow shot may reflect a fine grind, high dose, blocked flow, or equipment condition. Check preparation before blaming grind automatically.
Taste after the beverage cools to a safe temperature. Sharp sourness, drying bitterness, thinness, hollowness, and muddled flavor can have multiple causes. The words describe perception; they do not operate the grinder for you.
If the shot is clearly too fast while dose, yield, distribution, and equipment are stable, grind slightly finer. If clearly too slow, grind slightly coarser. Make one small change, prepare another shot consistently, and compare.
Avoid changing dose, yield, and grind together
Once grind brings the shot into a workable region, taste may suggest changing the beverage yield. A shorter or longer yield changes concentration and extraction together, so record the new target and hold it steady for the next grind comparison.
Dose changes can affect basket headspace and puck depth. Use them deliberately within basket guidance, not as the first response to every taste. When several variables move at once, a better shot arrives with no forwarding address for why.
Diagnose uneven flow separately
Spraying, early blond spots, multiple erratic streams, or a puck that shows obvious local disruption may indicate uneven preparation or equipment issues. Check distribution, level tamp, basket cleanliness, group seal, shower screen, and grinder consistency under manufacturer guidance.
Bottomless portafilters can expose messy flow but also spray hot coffee. Use only compatible equipment, keep clear, and follow the machine maker. They are diagnostic tools, not a requirement for good espresso.
Respect pressure and maintenance boundaries
Do not adjust internal pressure, temperature controls, electrical parts, boilers, or safety valves without the manufacturer’s documented user procedure and appropriate qualification. Descale and backflush only when the machine specifies the method and compatible product. Incorrect chemicals or procedures can damage equipment or create residue.
The moka-pot guide covers a different brewer and should not be used as espresso-machine instruction.
Save the final recipe and its limits
When the cup tastes balanced to you, record coffee, dose, yield, grind mark, time definition, preparation, water, and machine state. The setting will drift as coffee ages, humidity changes, the grinder warms, or equipment is cleaned. Treat the recipe as a current baseline, not a permanent law.
Dialing in is controlled tasting: start from compatible guidance, measure inputs and output, change one variable, and keep safety boring. The espresso may still have opinions. At least now it has minutes from the meeting.